Welcome to this exciting tutorial on Lens Studio, where we’ll dive into the fascinating world of Augmented Reality (AR) development! In this lesson, we’ll provide a comprehensive introduction to Lens Studio, the powerful tool that enables you to create captivating AR experiences for various platforms like Snapchat and more.
What is Lens Studio?
Lens Studio is a free, user-friendly software developed by Snap Inc. that empowers creators, developers, and artists to design and publish their own AR Lenses for Snapchat and beyond. Whether you’re a seasoned developer or an enthusiastic beginner, Lens Studio provides a perfect platform to bring your AR ideas to life without the need for complex coding.
Key Features and Benefits
- User-Friendly Interface: Lens Studio offers an intuitive interface with a variety of drag-and-drop tools, making it accessible for creators of all skill levels.
- Asset Library: The software comes equipped with an extensive library of 3D models, 2D images, animations, and sound effects, which can be used to enhance your AR projects.
- Scripting Capabilities: For those with coding knowledge, Lens Studio supports JavaScript scripting, allowing you to add interactivity and advanced functionalities to your AR Lenses.
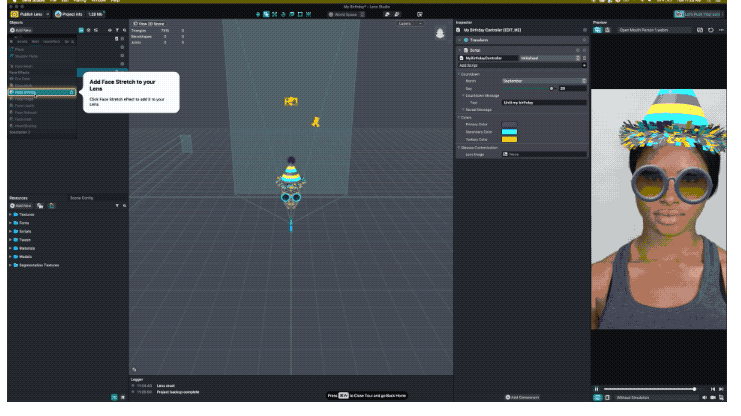
- Face Tracking: Lens Studio supports face tracking, enabling you to create dynamic AR effects that interact with users’ facial expressions and movements.
- World Lenses: With Lens Studio, you can create “World Lenses,” persistent AR experiences that users can interact with in the real world using their phone’s rear camera.

Getting Started with Lens Studio
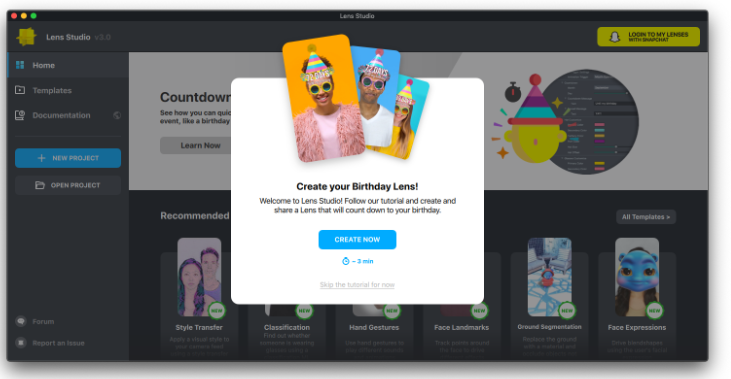
- Downloading and Installation: To begin, head over to the Lens Studio website (lensstudio.snapchat.com) and download the latest version for your operating system. Once downloaded, follow the installation instructions to set it up on your computer.
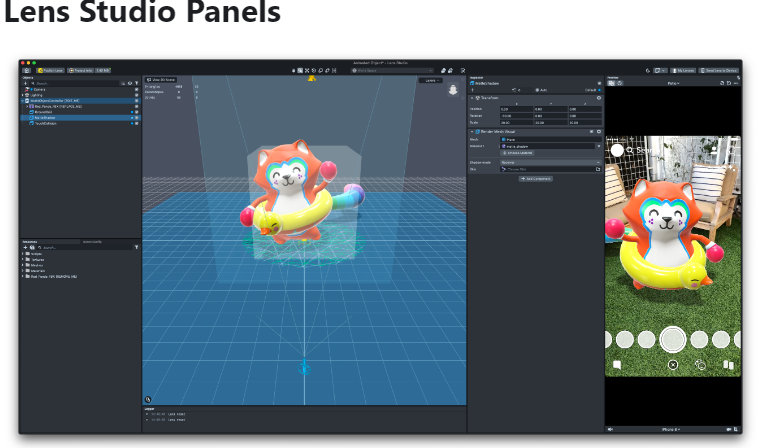
- Interface Overview: Familiarize yourself with the Lens Studio interface, including the Scene Panel, Inspector Panel, Asset Library, and the Device Preview window.
- Creating Your First AR Lens: Let’s jump right in and create a simple AR Lens together. We’ll start by adding a 3D object to the scene and applying materials to give it a realistic appearance.
- Testing Your AR Lens: Lens Studio allows you to preview your AR Lens directly on your computer or test it on your smartphone using the Lens Studio app.
Conclusion
Congratulations! You’ve taken your first steps into the exciting world of Lens Studio and AR development. In this tutorial, we covered the basics of Lens Studio, its key features, and how to create a simple AR Lens. The journey has just begun, and you’re now equipped to explore more advanced features and unleash your creativity to craft captivating AR experiences.
Stay tuned for more tutorials, where we’ll delve deeper into Lens Studio’s functionalities, explore scripting, and build impressive AR projects. Happy creating!
Hashtags: #LensStudio #ARDevelopment #AugmentedReality #ARCreation #LensStudioTutorial